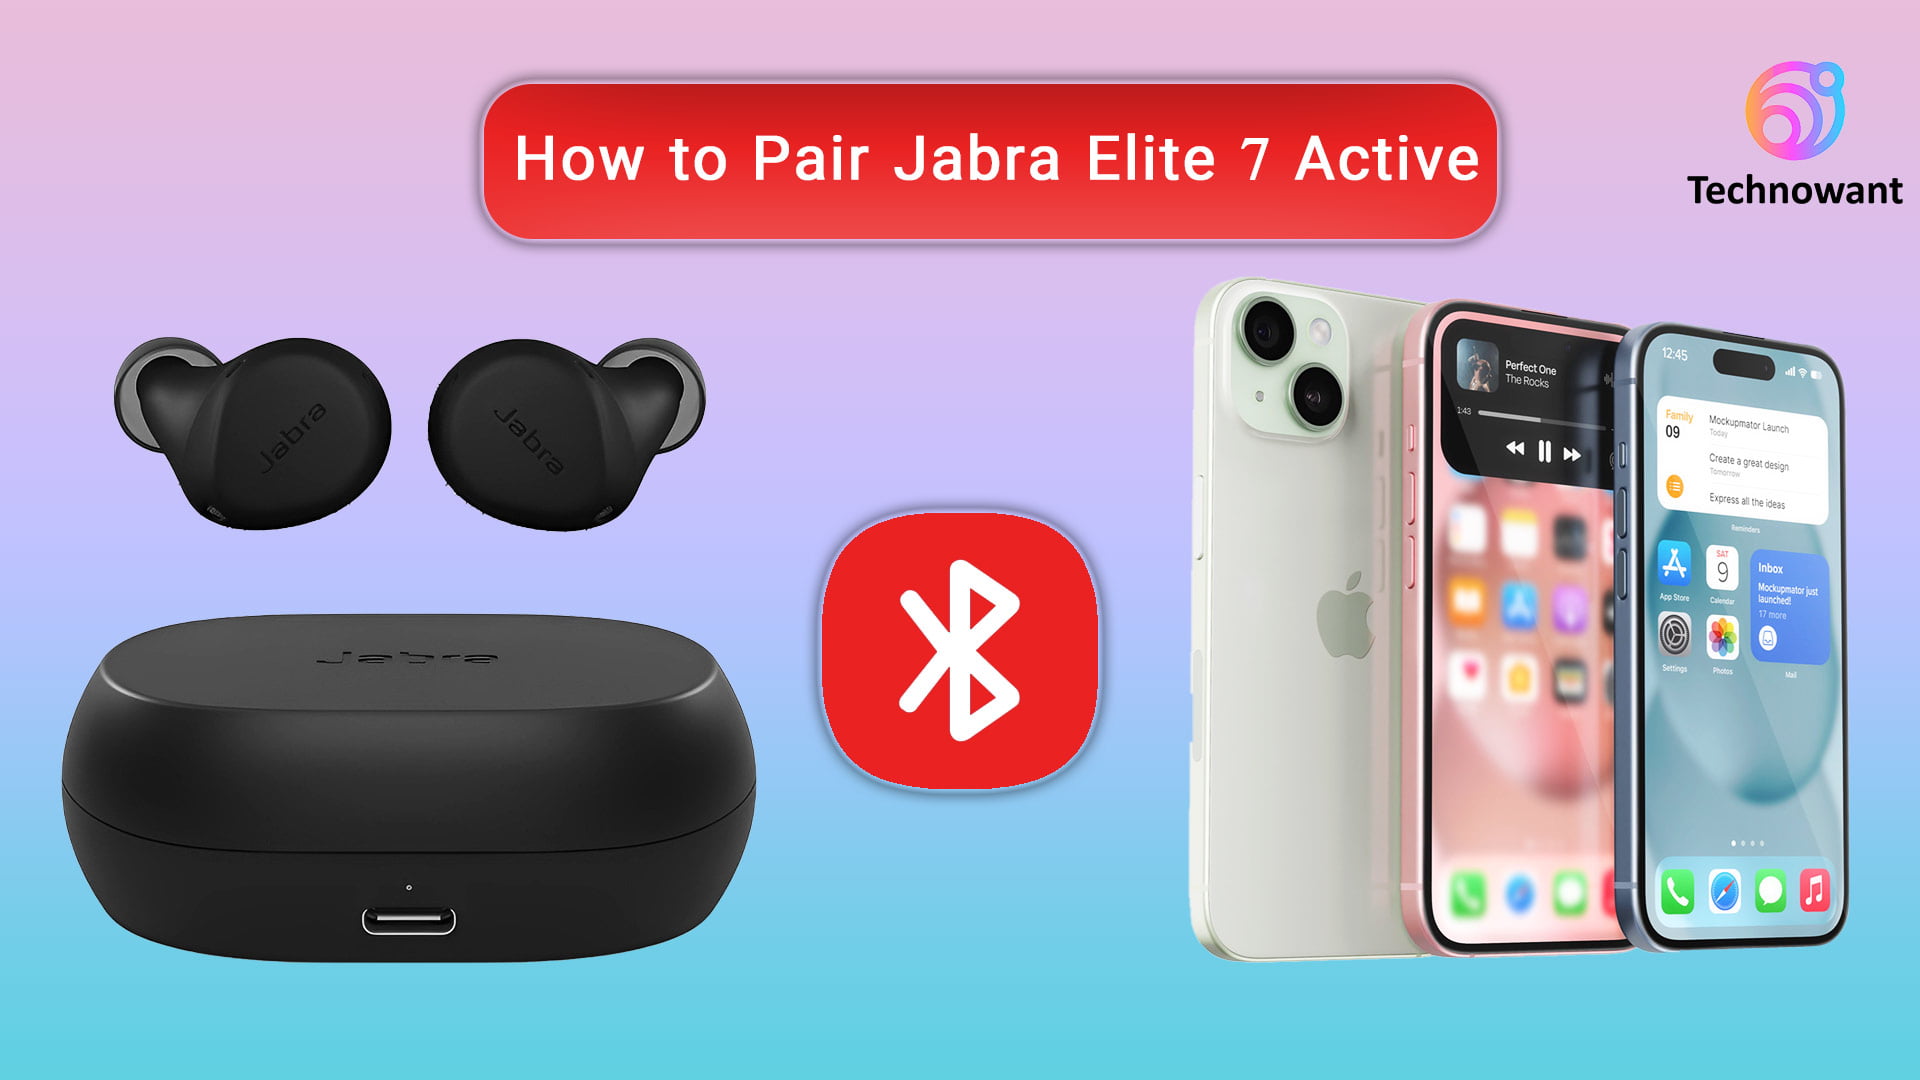
Pairing your Jabra Elite 7 Active earbuds with your devices is a straightforward process. Follow these steps to connect them successfully to a smartphone, tablet, or computer.
Also Read: Jabra Elite 7 Active Review
Step 1: Prepare Your Earbuds
- Charge the Earbuds: Ensure that your Jabra Elite 7 Active earbuds are fully charged. Place them in the charging case and connect the case to a power source using the provided USB-C cable.
- Remove from Case: Once charged, take the earbuds out of the charging case. They should automatically power on.
Step 2: Enter Pairing Mode
- Activate Pairing Mode: If the earbuds do not enter pairing mode automatically, press and hold the button on both earbuds for about 3 seconds until you hear an audio prompt indicating that they are in pairing mode.
Step 3: Connect to Your Device
- Open Bluetooth Settings: On your smartphone, tablet, or computer, go to the Bluetooth settings. This is usually found in the settings menu under “Connections” or “Devices.”
- Search for Devices: Enable Bluetooth if it is not already on and select “Scan” or “Search for devices.”
- Select Jabra Elite 7 Active: Look for “Jabra Elite 7 Active” in the list of available devices and tap on it to initiate pairing.
- Confirm Pairing: You may be prompted to confirm the pairing request on your device. Accept it to complete the connection.
Step 4: Finalize Connection
- Check Connection Status: Once paired, you should hear a confirmation sound in the earbuds, and the device will show that it is connected.
- Adjust Settings (Optional): You can customize settings such as noise cancellation and equalizer preferences using the Jabra Sound+ app, which is available for download on both iOS and Android platforms.
By following these steps, your Jabra Elite 7 Active earbuds should now be successfully paired with your device, allowing you to enjoy high-quality audio and seamless connectivity.


